Service manuals, schematics, eproms for electrical technicians
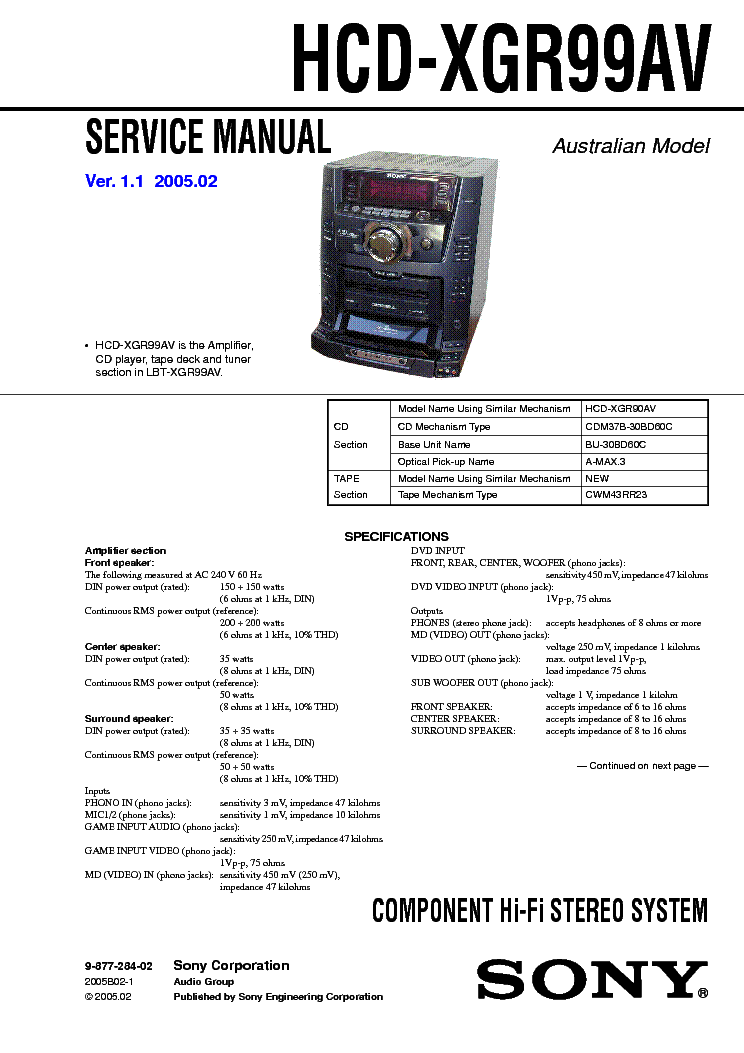
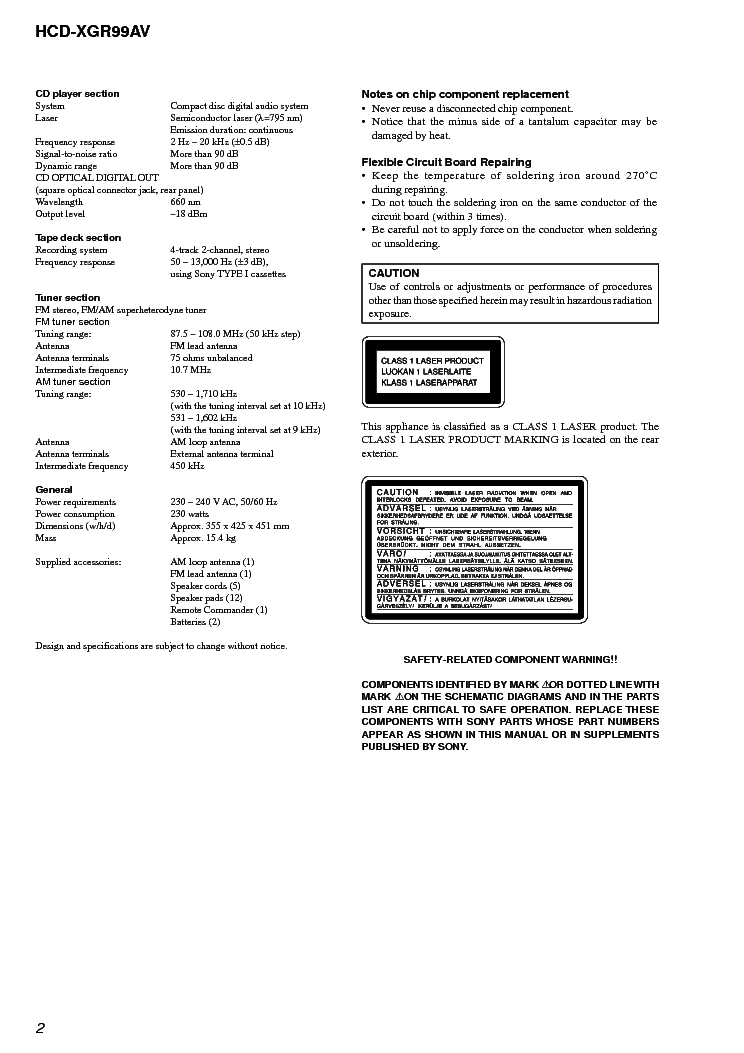
SONY HCD-XGR99AV VER1.1

Type:  (PDF)
(PDF)
Size
5.3 MB
5.3 MB
Page
82
82
Category
AUDIO
SERVICE MANUAL
AUDIO
SERVICE MANUAL
If you get stuck in repairing a defective appliance download this repair information for help. See below.
Good luck to the repair!
Please do not offer the downloaded file for sell only use it for personal usage!
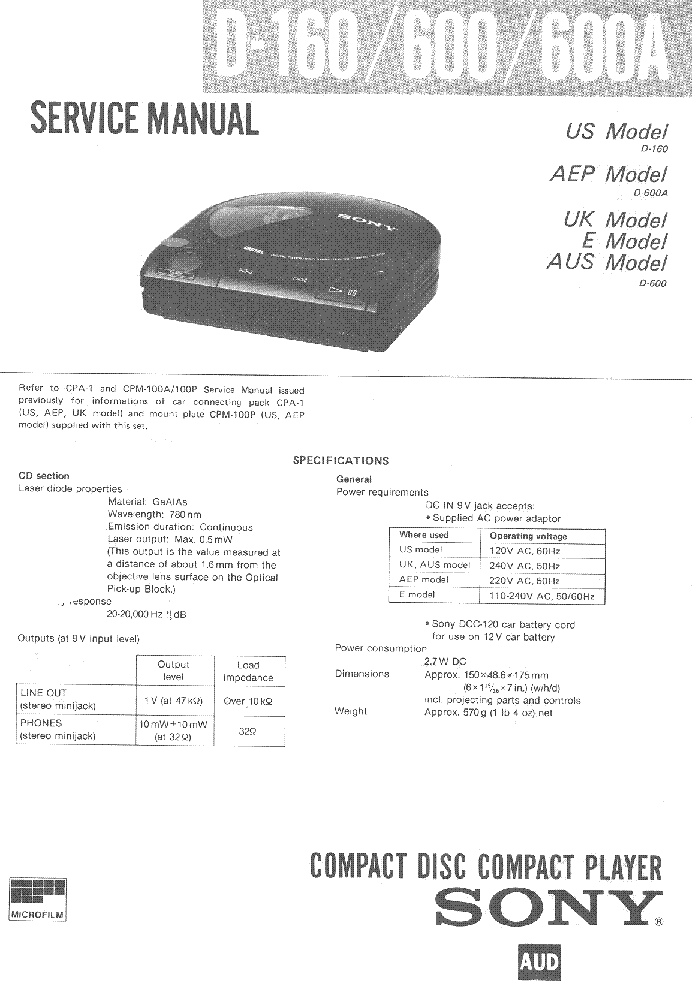
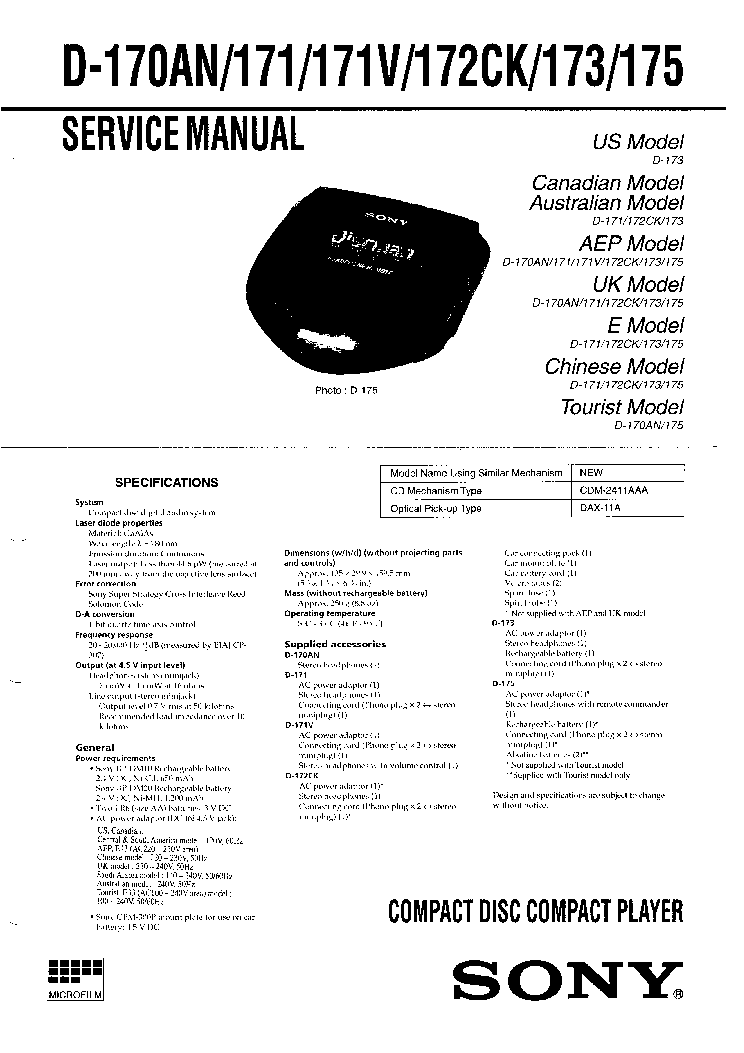
Looking for similar sony manual?
Good luck to the repair!
Please do not offer the downloaded file for sell only use it for personal usage!
Looking for similar sony manual?
Advertisements
Advertisements
Please tick the box below to get download link:
- Also known:
SONY HCDXGR99AV HCDXGR 99 AV HCD XGR99AV
- If you have any question about repairing write your question to the Message board. For this no need registration.
- If the site has helped you and you also want to help others, please Upload a manual, circuit diagram or eeprom that is not yet available on the site.
Have a nice Day! - See related repair forum topics below. May be help you to repair.
Warning!
If you are not familiar with electronics, do not attempt to repair!
You could suffer a fatal electrical shock! Instead, contact your nearest service center!
Note! To open downloaded files you need acrobat reader or similar pdf reader program. In addition,
some files are archived,If you are not familiar with electronics, do not attempt to repair!
You could suffer a fatal electrical shock! Instead, contact your nearest service center!
so you need WinZip or WinRar to open that files. Also some files are djvu so you need djvu viewer to open them.
These free programs can be found on this page: needed progs
If you use opera you have to disable opera turbo function to download file!
If you cannot download this file, try it with CHROME or FIREFOX browser.
Translate this page:
Relevant AUDIO forum topics:
Helló!
Ezt a készüléket az autómmal együtt kaptam és most szeretném a műhelyemben erősítőnek használni a számítógéphez. Sajnos azonban nem tudok rajta bemenetet váltani. A gomb működik, hiszen azzal is kapcsolom be, és ha teszek bele kazettát azt is váltja, de sajnos nem vált át. Kell vmi külső rövidzár vagy valami amiről tudja a készülék, hogy van rajta más bemenet is?
Üdv.: Ízirájder
Üdvözlök mindenkit!
Nemrég hozzám került a fent nevezett erősítő. Pár perc működés után lekapcsolta a hangszórókat.A koppanásgátló reléjét megmozgatva a hiba megszűnik, viszont a relé mellett lévő tranzisztorok igen csak felforrósodnak.
A fő problémám, hogy csak akkor ad ki hangot, ha analóg jelbemenetet választok. Ilyenkor csak az első két hangszórót engedélyezi, ha bekapcsolom a Pro Logic-ot, hogy minden hangszóró szóljon, akkor némaság van.Minden hangzásmódnál némaság van. Az EQ és az extra Bass pedig csak ezekben a módokban lehetne használni.
Digitális jelforrásról érkező jellel nem tudom letesztelni, mert nincs semmim ami optikai vagy koaxiális kimenettel rendelkezne.
Olyan mintha meghalt volna a DAC része.
Minden működik, csak épp a digitális része nem.
Milyen meghibásodás szokott előfordulni a DAC-nál?
Mit és hol keresgéljek?
Amikor átkapcsolom pro-logicba nem hallok semmi relé kattanást a készülékben.Visszakapcsolva analógra szintén nem hallok kattanást, viszont akkor szólnak az elülső hangszórók.(Bár nem tudom ,hogy egyáltalán kellene-e hallanom relé kattanást)
Köszönöm!
Sziasztok!
Merre, hol, honnan tudnék ilyen nyomogombokat szerezni? Led is van benne am! Meretei: 3,2x6,3x2,5mm
Koszi!
Udv!
Imre
Want to share:
Have downloaded the schematics from this forum to help repair the amplifier of a friend.
Turned out that Sony decided to route the earth through the chassis, even the earth between the various supplies.
When one takes the main board out of the chassis and switches the amp on, there are up to 20 volts difference between the eart (and hence reference) of the pre-amps and the main amps.
Luckily the amp goes into protection but from a design point of view it is not nice to rely on screws and aluminum face plates to conduct up to 0.2 amps of current from one supply to another.
What I did is solder wires to every eart point and connected them on the main board to make it stand alone and not rely on conducting current through the chassis anymore.
Bad design, simple repair but took some digging in the schematics to find out what exactly was going on!
Similar manuals:
If you want to join us and get repairing help please sign in or sign up by completing a simple electrical test
or write your question to the Message board without registration.
You can write in English language into the forum (not only in Hungarian)!
or write your question to the Message board without registration.
You can write in English language into the forum (not only in Hungarian)!
E-Waste Reduce

