Service manuals, schematics, eproms for electrical technicians
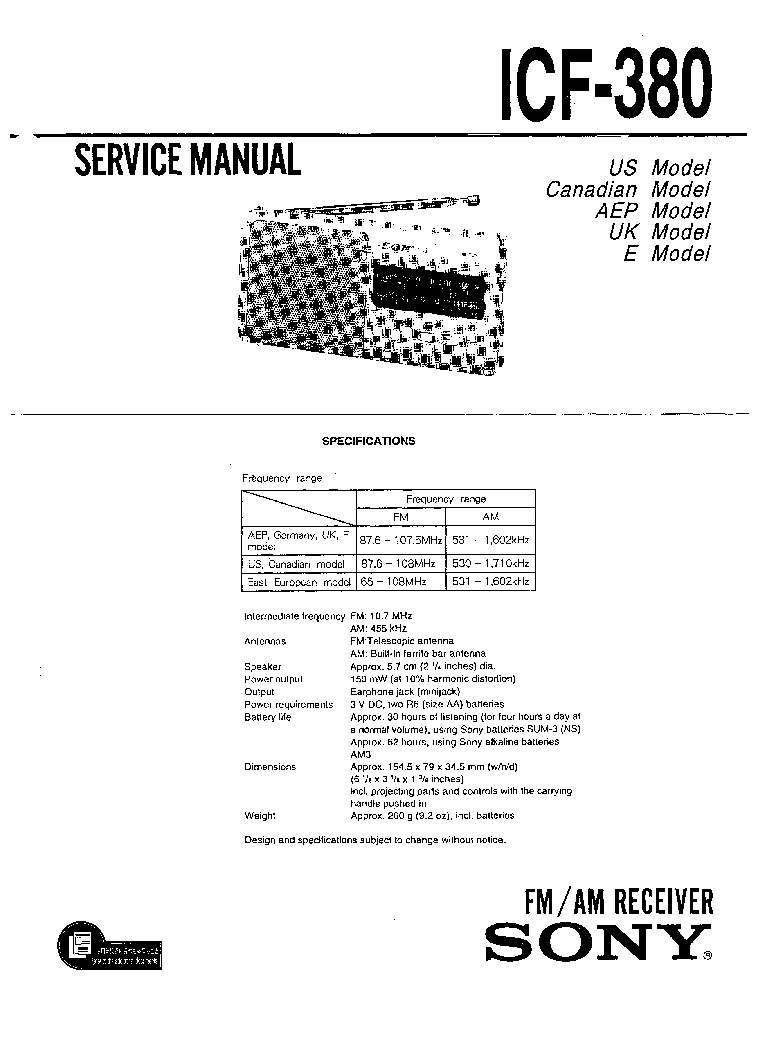
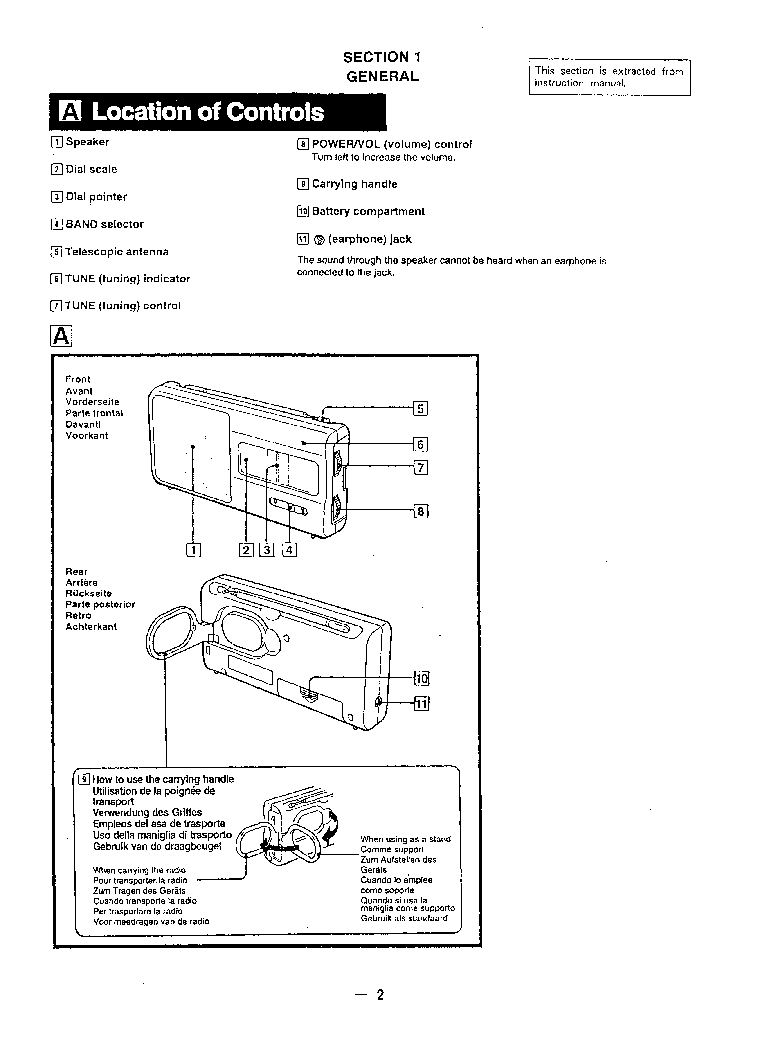
SONY ICF-380

Type:  (PDF)
(PDF)
Size
2.7 MB
2.7 MB
Page
18
18
Category
AUDIO
SERVICE MANUAL
AUDIO
SERVICE MANUAL
If you get stuck in repairing a defective appliance download this repair information for help. See below.
Good luck to the repair!
Please do not offer the downloaded file for sell only use it for personal usage!
Looking for similar sony manual?
Good luck to the repair!
Please do not offer the downloaded file for sell only use it for personal usage!
Looking for similar sony manual?
Advertisements
Advertisements
Download free of charge (10 files / day):

Download processing...

Download processing...
- Also known:
SONY ICF-380 ICF380 ICF 380
- If you have any question about repairing write your question to the Message board. For this no need registration.
- If the site has helped you and you also want to help others, please Upload a manual, circuit diagram or eeprom that is not yet available on the site.
Have a nice Day! - See related repair forum topics below. May be help you to repair.
Warning!
If you are not familiar with electronics, do not attempt to repair!
You could suffer a fatal electrical shock! Instead, contact your nearest service center!
Note! To open downloaded files you need acrobat reader or similar pdf reader program. In addition,
some files are archived,If you are not familiar with electronics, do not attempt to repair!
You could suffer a fatal electrical shock! Instead, contact your nearest service center!
so you need WinZip or WinRar to open that files. Also some files are djvu so you need djvu viewer to open them.
These free programs can be found on this page: needed progs
If you use opera you have to disable opera turbo function to download file!
If you cannot download this file, try it with CHROME or FIREFOX browser.
Translate this page:
Relevant AUDIO forum topics:
Sziasztok. Lett egy, a cimben szereplo tipusu erositom. Protect modban volt, a STK4182 vegfok egyik kimenetere kiult a +tapfesz. Van egy hasonlo, STR-AV210 tipusu is, ami mukodik, a radio reszet kiveve, de elegge utott-kopott. Ezert ugy hataroztam, hogy a vegfokjat, STK4152, teszem at az AV320-ba. Bar a 320-as szervizkonyve +-41.6V tapfeszt ir, a valosagban csak +-34V, igy nem kene gondot okoznia a STK4152-nek. Bekapcs utan szepen meghuz a hangszorovedo rele is, nagyon alacsony hangeron megszolalt az egyik oldal, de ha fennebb emeltem a hangerot, a rele oldott. A kimeneteken nem volt egyenfesz. Masnap ujbol elovettem oket, de most mar rogton protect modba lep. Most sincs egyenfesz a kimeneteken. Megvizsgaltam a vedo aramkort, az elektrolit kondikat csereltem, de nem valtozott semmi. A szervizkonyv szerinti feszultsegek merhetoek (kiveve a tapfeszt) mindenhol a vedoaramkorben. Mivel nem igazan vagyok hive a processzoros vedelemnek, nem is igazan ertem hogyan is mukodik ez. St-by allapotban a proci "protector" laban 4.8V van, ez a bekapcsolast koveto 2-3 mp utan leesik 0.68V-ra, ami megtalalhato az R630 - D603 kozos pontjan is. Nehany mp mulva ujbol felmegy 4.8V-ra es kiirja a protect modot. Az en tudomanyom itt megallt. Szivesen veszek minden otletet a problema megszuntetesere. Koszonom.
hi i am looking for the schematic diagram of a sony power unit.
Sony VPL-fx35/fh31/fhz55/f420hz/f425hzl power unit RPS9522M-02
or from part number 1-474-223-11
i hope somebody can help me out or if you have it partly from reverse enginering please upload or let me know.
Kedves nálam Tapasztaltabbak!
Sony TA-AX205 erősítő van nálam. Rengeteg kontakthibát már elhárítottam benne, végre eljutottam odáig, hogy szól.
De, aránylag alacsony hangerőnél is, főleg, amikor mély kiemelést rátolom, lekapcsolja a hangszórók reléjét. Fejhallgatóval is.
A végerősítőig nagyon primitív, de utána meg jól el van bonyolítva. A hangszóró védelem nem csak a DC-t figyeli, hanem a kimeneti teljesítményt is, és akkor is lekapcsolhatja, amikor túl akarnánk hajtani.
Sajnos nem találtam hozzá kapcsolási rajzot, csak hasonlót. A TA-AX250 végerősítője ugyan ez, csak ott IC a logikai áramkör a védelemnél. De ebben nincs IC, csak rengeteg ellenállás, kondenzátor meg dióda. Kapcsolási rajz nélkül nem látom át.
A DC-t néztem, de teljesen 0-án van. Mondjuk elég nagy a műszerem tehetetlensége, mikor lekapcsol a relé, egy pillanatra a 0-ból néhány milivoltra ugrik.
A hang nem torz, teljes mélykiemelésnél sem. Egyszerűen nem értem.
Hogyan tudnám megállapítani, hogy az STK hibás-e, vagy a védelem lett túl érzékeny?
Ha van valakinek tapasztalata ezzel a típussal, vagy van kapcsolási rajza hozzá, erősen megköszönném...
Gábor
Megoldás: Köszönöm a tanácsokat! Valóban, a védelmi áramkör elektrolit kondenzátorainak cseréje megoldotta a problémát. Leginkább a C412- es pozícióban lévő 100u/6.3V kondenzátor volt kikészülve. Lényegében robbanás határon volt gumidugó irányban. Csak az tartotta vissza ettől, hogy a táp szűrő kondenzátorok ragasztójából neki is jutott, és a panelon tartotta...
Szervusztok!
Van a fent nevezett készülék aminek a FM része nem működik (Sony tux-032 tuner van benne) AM-en szól,FM-en egy pillanatra beindul aztán leáll. Ha valakinek van valami sejtése erről a hibáról akkor segítsen.
Várom a megtisztelő válaszotokat.
Üdvözlettel!buszosgyuri
Similar manuals:
If you want to join us and get repairing help please sign in or sign up by completing a simple electrical test
or write your question to the Message board without registration.
You can write in English language into the forum (not only in Hungarian)!
or write your question to the Message board without registration.
You can write in English language into the forum (not only in Hungarian)!
E-Waste Reduce

